The idea is to allow you to use decorative threads that wouldn't normally go through the tension discs or the needle of your machine.
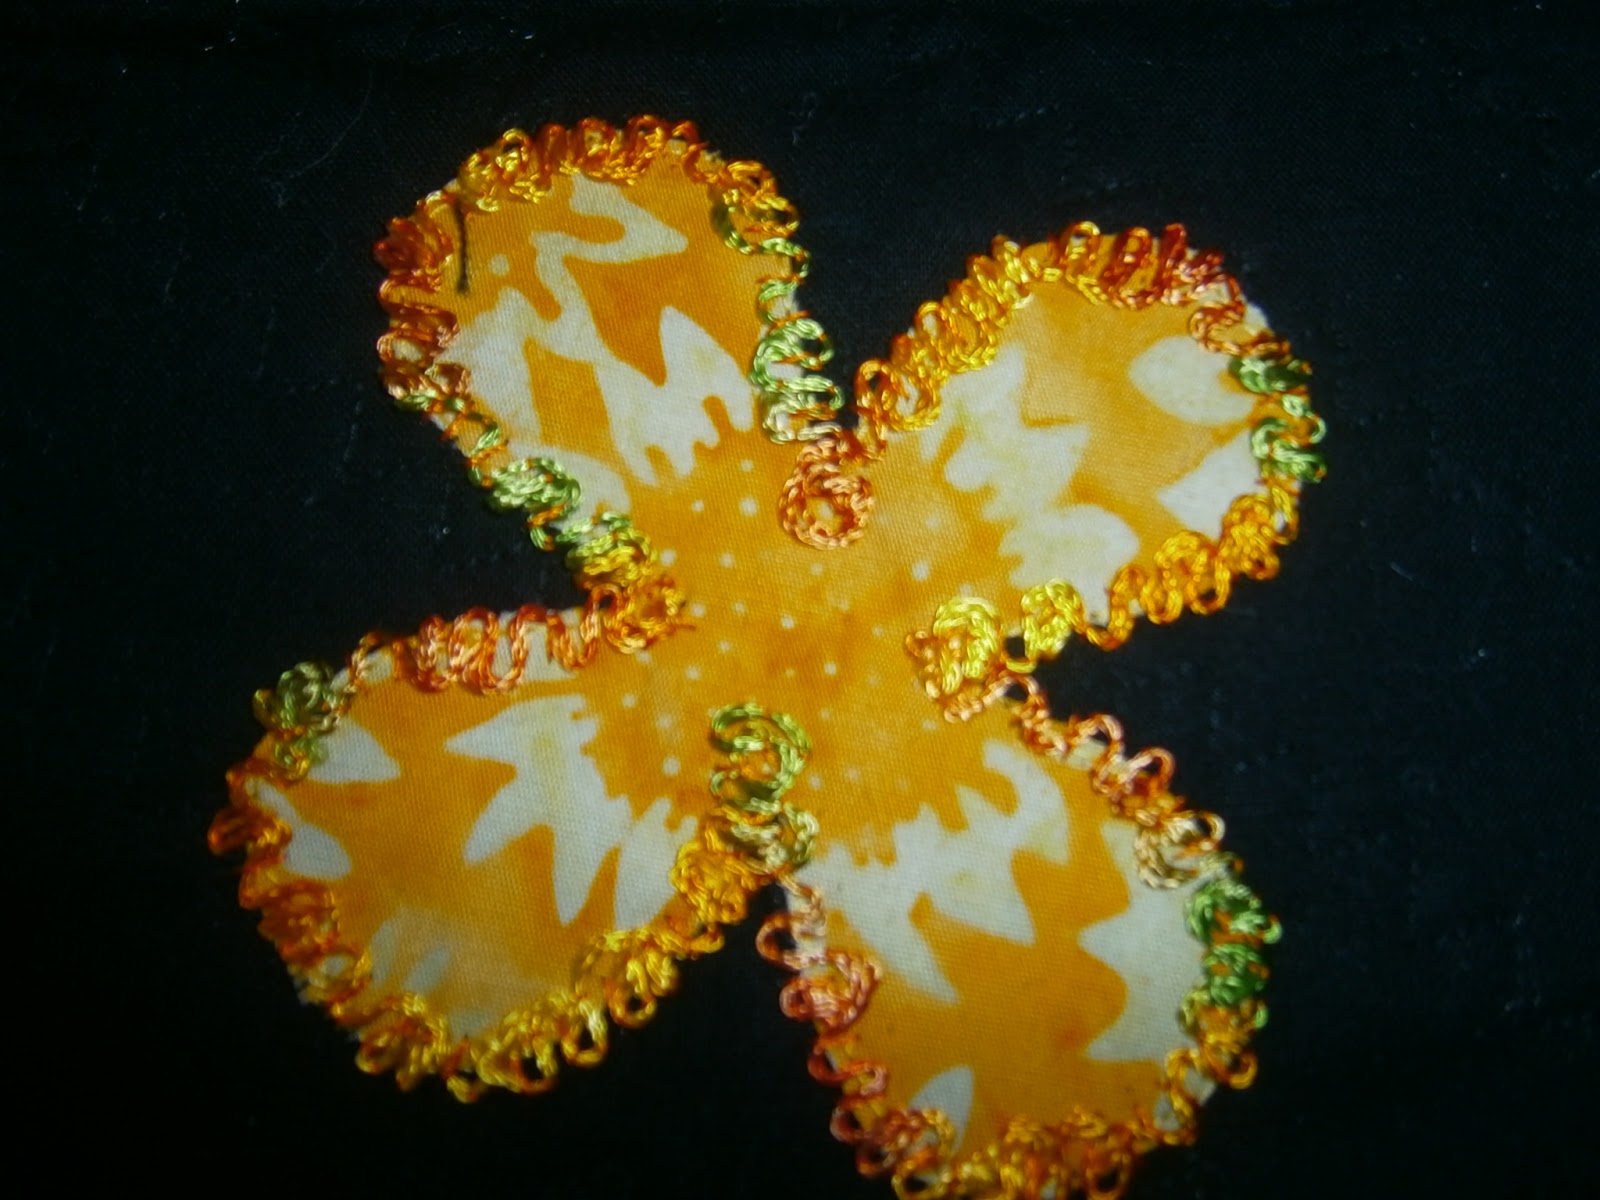
So, to do my block as pictured - I appliqued the flower shape as normal using vliesofix . I then sewed around it with thread on top that matched the colour of the flower shape and a bobbin in a colour that that showed up well on the underside. My block has pellon attached so I just used yellow on top and a black in the bobbin.
Then you wind a bobbin with the thread you want to use. Mine was a thread designed for an overlocker and is a Madiera Decora No 6 (it wasn't cheap - but you could pick any thick thread (even a perle cotton or some wool or maybe a ribbon - never tried that one though).

I originally tried a black decorative thread but because you still see the yellow fabric through the decorative stitching - the multi coloured yellow worked better.
I was able to wind my bobbin on my machine - but you can wind by hand if you want to.
Put the bobbin in the bobbin case as normal - but not in the thread guide - just leave it loose.
Do the normal pulling up of the bobbin thread.

On the top pick a coloured thread that matches the fabric you are sewing onto and the thread you are using. I chose an orange one.
Now you turn your block upside down so that you see the black stitching. Pick a decorative stitch and sew along the line. Remember to leave a length of the decorative thread so you can sew it in later - I didn't try a lock stitch - I really don't think that would work too well.
The stitch you choose is a matter of trial & error - I ended up using just a basic zig zag - fairly close.
In this picture you can see a decorative stitch and the zig zag.

and this is the right side.

But as with anything new - trial a few things on straight lines first to get the hang of it.
Hopefully you end up with something that looks like this:
And now you want to know about the pink & green in that picture above . . . .
I just used one of the stitches that looks like some leaves in a line in green and then over the top I sewed what is supposed to be a roundish shape in pink - when I did that bit my machine stitch balance was way out so I got elongated shapes, but you get the idea. Very simple and can be very effective.


